“It’s all right now. I learned my lesson well.
You see, you can’t please everyone, so you got to please yourself.”
We all come crawling back to Windows eventually.
After 15 years running my home office on Apple hardware, I hit a snag whilst streaming in the first half of 2020. The upgrade to OBS 25 seemed to disagree with my 2017 iMac (still running Mac OS Catalina), and nothing I did could get OBS to stream at higher than about 22 frames per second. Even a totally empty scene with no elements seemed to chug.
I moved most of my streaming setup to my Windows laptop (an Intel i7-8750 with a GTX 1050 GPU), and had no trouble whatsoever. But not wanting to drop over $2,000 on another gaming laptop, and having to constantly unplug and replug capture cards and microphones as the laptop moved about, the die was cast. It was time- for the first time in nearly twenty years- to dust off the tiny screwdrivers and attempt building a new PC.
The budget for the build is AUD$1000, which I ever-so-slightly exceeded; availability of the Ryzen 5 meant I had to pay a bit extra to get it from another seller, and couldn’t abuse my Amazon Prime free-shipping perk. (On the plus side, that seller was PC Case Gear and I had the chip in two days, so the shipping cost was money well spent.) But overall, with case included- and borrowing a case fan from a friend to add extra ventilation, which is kind of cheating- the build clocks in at AUD$1026 (USD$796 as I write this, shipping and taxes included). An equivalent pre-built system from a local supplier would run me $1600 at time of publication, although with a bigger SSD and (hopefully) cable management done by professionals.
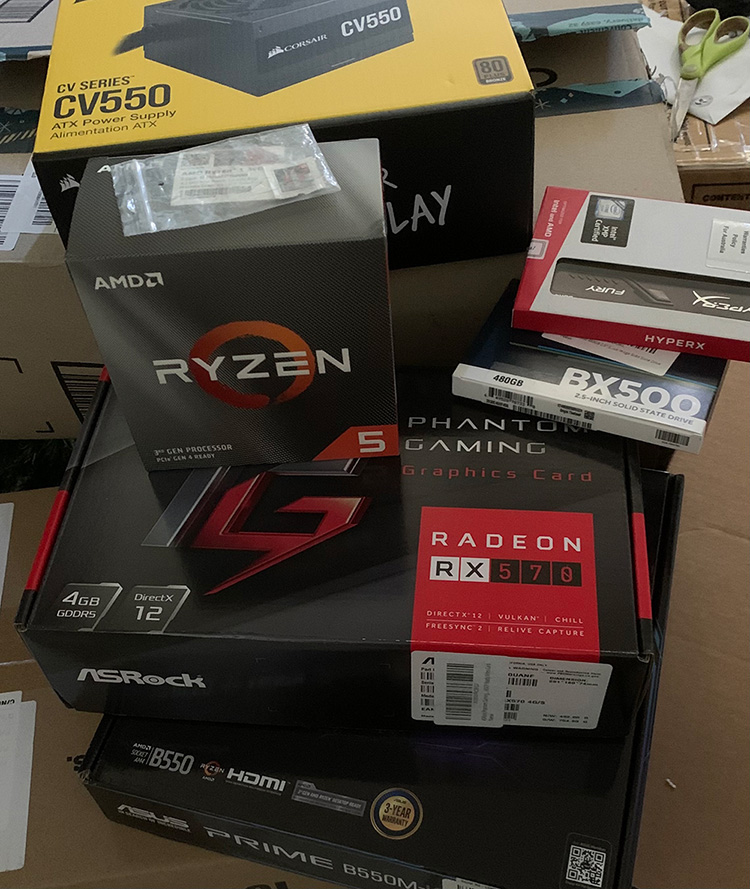
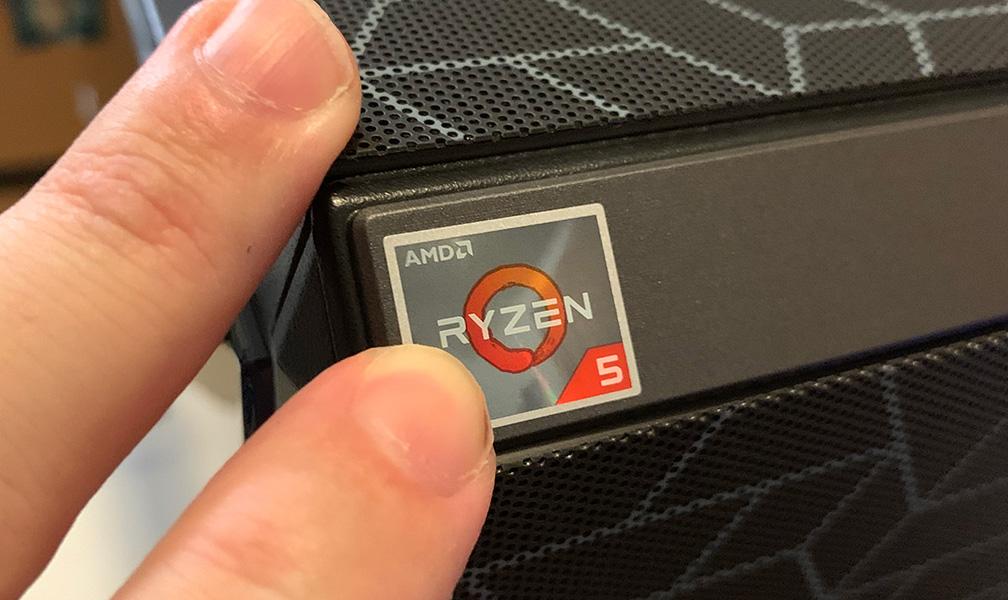
- CPU AMD Ryzen 5 3600
- Motherboard Asus Prime B550M-K ATX AM4
- GPU ASRock Radeon RX570 4GB Phantom Gaming D
- Memory HyperX Fury 16GB DDR4-3200, 2x8GB modules
- Storage Crucial BX500 SSD, 480GB
- Power Supply Corsair CV 550W 80+ Bronze ATX
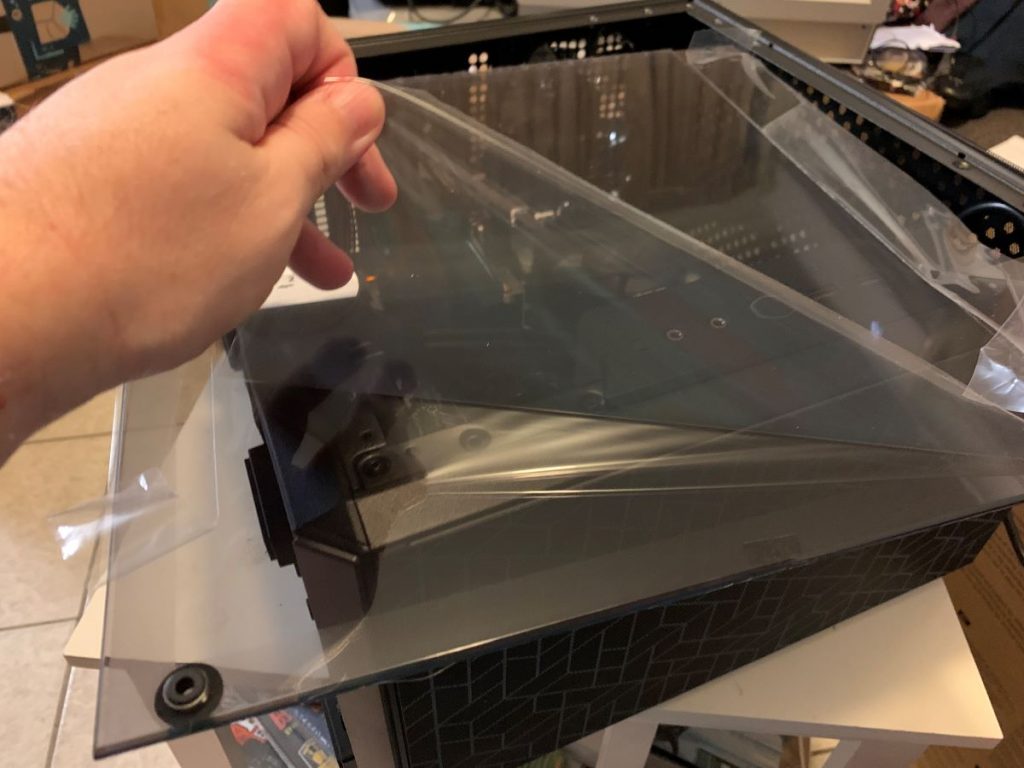
- Case Cooler Master MasterBox Q500L ATX Mid Tower
With the parts list, I can post the first lesson I took away from this experience: don’t look at reviews after you’ve bought the parts. I had seen a review for the Cooler Master Q500L case, and figured it was a good option at the price (A$56), but then after it arrived I immediately started getting a bunch of YouTube recommendations that said the case was terrible and had awful airflow. Luckily, I’m in Queensland, where the air is basically soup for six months of the year and no case would be able to stand up to the local climate, so I figure these are all pretty much equal.
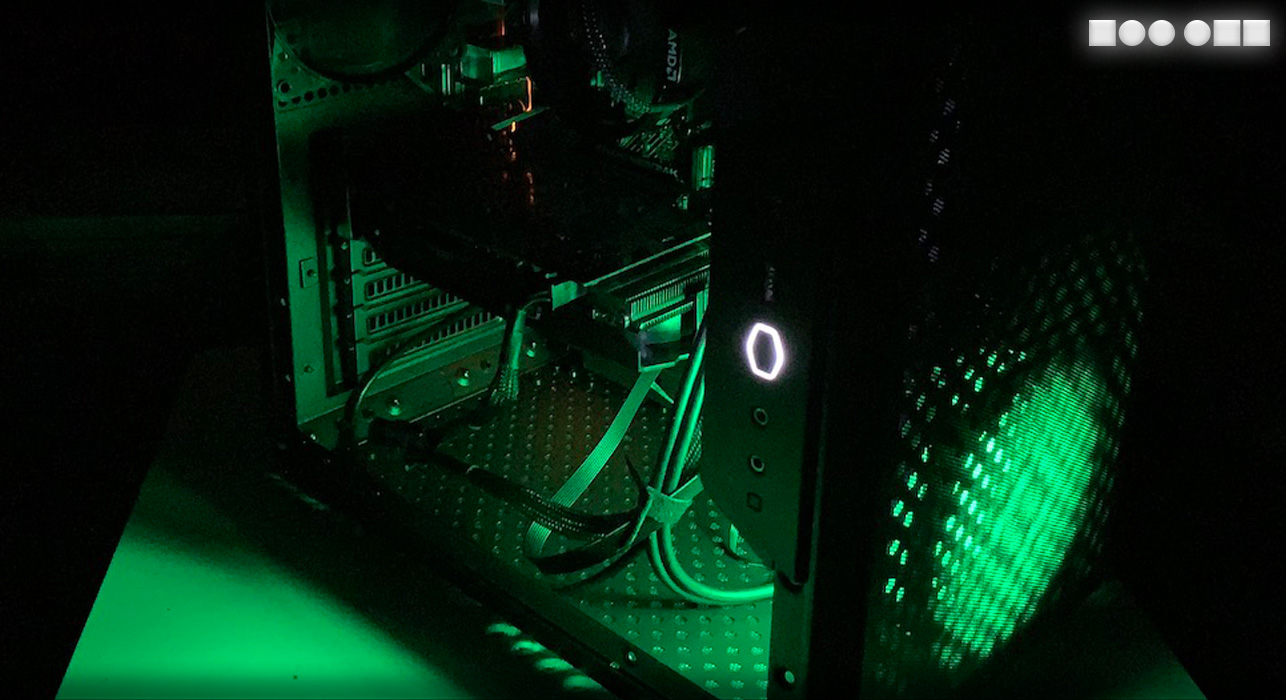
(Incidentally, I was originally considering the ugliest possible case I could get under budget; I had found one that would fit the Ozhoops green-and-gold aesthetic, but shipping from the UK more than tripled the cost. In the end I had to rely on fans to provide the lighting, my dreams of a glowing RGB monolith that would be visible from space sadly dashed.)
A corollary to this theory could be, don’t look at price listings after you’ve bought the parts. In my previous years as a Windows user, this was because prices invariably plummet the instant you get your new purchase home. But in Bizarro World 2021, the exact opposite is true; between supply-chain issues, cryptocurrency miners hoarding supply, and scalper bots snapping up stock as it arrives, I could actually sell my graphics card two months after buying it and make a nearly 100% profit.
(And I thought the graphics card was the big compromise I made in the shopping process; there are individual cards going for more than my entire build budget.)
With the stack of cardboard boxes building up in my living room, it was time to commit to the build. I considered streaming the event but bailed in the end; aside from the possibility of ending up the butt of endless The Verge-style YouTube videos mocking my noob-itude, I also realised I didn’t really have a great work area for the build. Hence the next lessons:
– you always need more space than you think; and
– you always need more light.
Between my shortsightedness (medical, not metaphorical), building at night, and working in a less-than-ideal confined space, plugging in things like the hard drive and power lights on fiddly, tiny connectors in distant, tucked-away parts of the motherboard was… a challenge. I may also have put the motherboard into the case a bit early as well, but this seems to vary depending on your parts and your individual setup; some boards and cables just seem to be a bit better organised and a bit more noob-friendly. Luckily most connectors will only plug into one place on the board, and when you find that place, they only go one way.
This leads to the next lesson: technical compatibility is one thing, making sure everything physically fits is another. Websites like PC Part Picker will help you make sure everything is compatible and will boot, but making stuff fit nicely in the case can be a challenge. While this is a bigger issue if you’re spending used-car money on a graphics card, smaller, fiddlier items like cable management also become an issue if your case doesn’t have space allotted… or if it just has a weird layout.
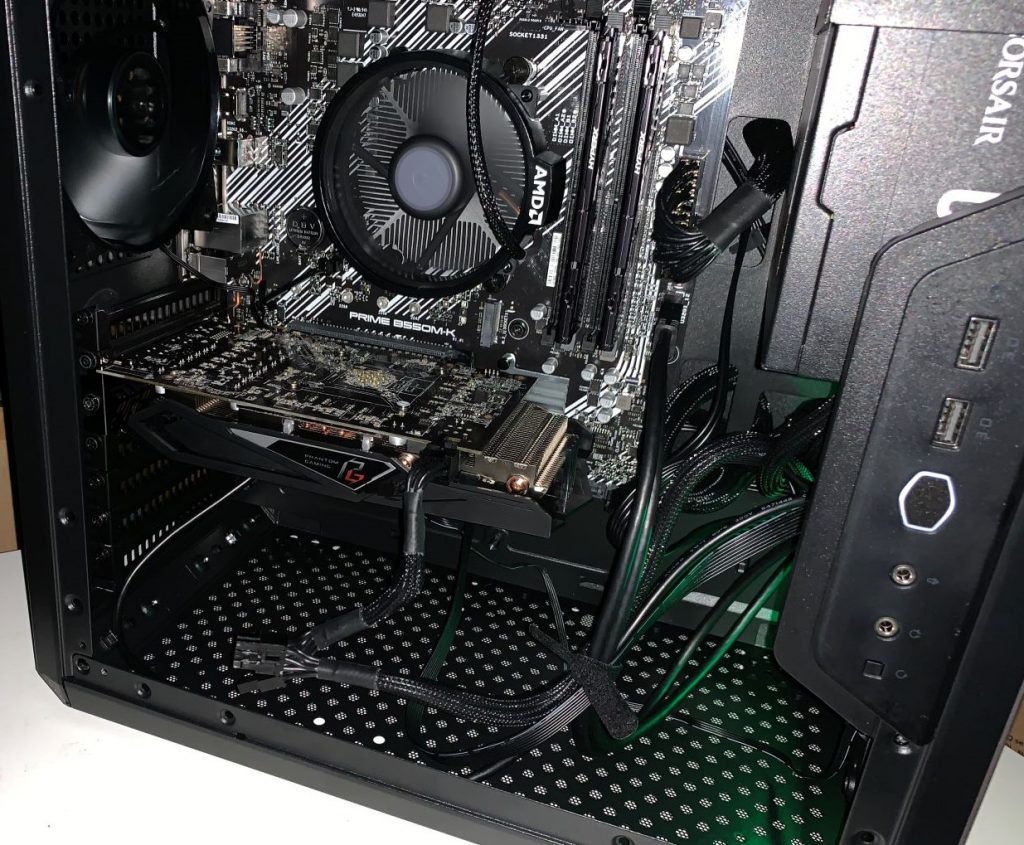
The intended way of using the Cooler Master Q500L is apparently to mount the power supply on the ‘ceiling’ and run cables from there. This proved to be a blessing in disguise; I had purchased a non-modular power supply, meaning the cables are hard-wired into the box. (“Modular” ones allow you to unplug cables you don’t need.) Hence, the bottom of the case became a temporary repository for all the unused cables I didn’t need, and there was space behind the ‘far side’ panel for final cable management, as well as the mounting points for hard drives or solid state drives.

Cable management seemed to be the hardest part of the build. Between getting fiddly Molex cables plugged into far corners of the case, and getting cables out of the way of the fans and tucking them out the back, this was by far the most time-consuming part of the process; if you want to run a bare-silicon PC with no case and a spaghetti-cable nightmare running everywhere I guess you could skip this part. But I needed my spaghetti-cable nightmare to be outside the PC case, given all the bits and pieces that make up the streaming setup, so I did try. Sure, it may not pass muster with the YouTube tech snob crowd, but I’m pretty happy overall.
(Speaking of which, I didn’t want to turn this into a hit piece on tech YouTubers, but there are a few things to note:
– you’ll need to get used to your YouTube recommendations filling up with Linus Sebastian making stupid faces; and
– 90% of these videos are about things no sane person in the real world would ever even research, let alone attempt.
You can also safely ignore the “build a gaming PC for $200!” videos, because
– they all involve playing compatibility roulette with the second-hand office PC market to get a cheap case and power supply that maybe will support modern hardware, maybe has physical space in the case where a new graphics card will actually fit, and maybe isn’t rusty, dusty or full of spiders;
– they don’t take into account exchange rates, sales taxes, or the Australia Tax routine markup on computer parts that manufacturers add just because they can; and
– good luck getting ANY halfway-useful graphics card in the February 2021 market for US$200, let alone AUD$200.)
Performance in the end is pretty good; it’s the fastest PC I’ve ever owned, although given I’m mostly a console kid and have been a Mac user since 2004, that is perhaps damning with faint praise. Still, I was able to get a solid 75 frames per second out of Grand Theft Auto V on default settings, and hovered around 90 FPS on Fortnite.
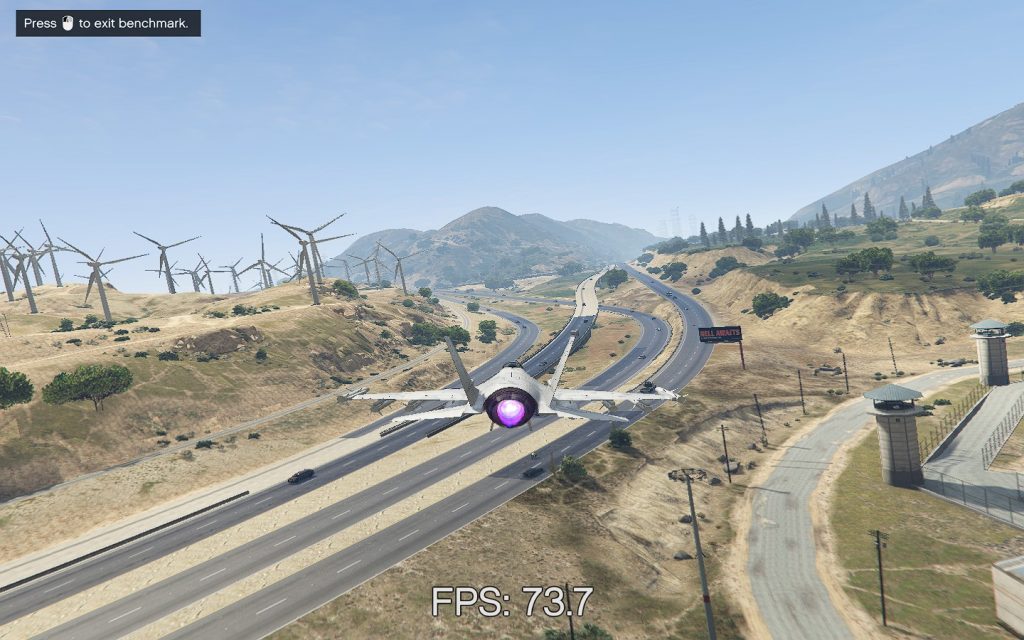
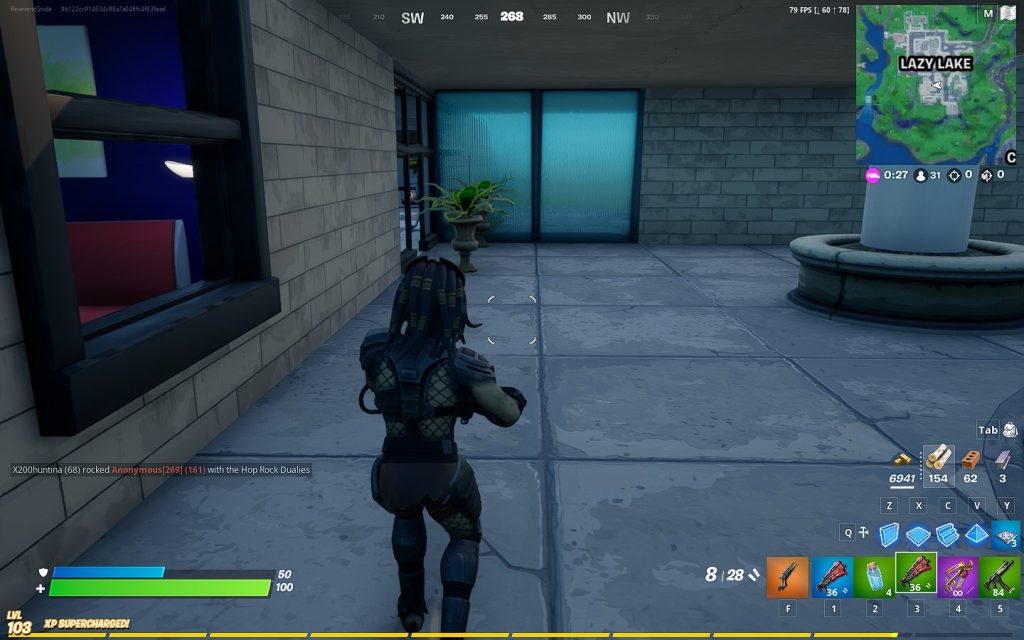
The caveat on these figures is that I started out running on a 900p monitor for budgetary reasons; the monitor is a hand-me-down to get up and running. It’s actually a Samsung TV my parents weren’t using, and which I thought would make good set dressing for my streaming setup. For now, though, it’s the primary monitor. I may retest once the new monitors are in situ; or I may not, and just go back to playing Fortnite on the Switch in 720p30. We’ll see. (Although GTAV was a 106Gb download, maybe I should keep it around to justify the effort.)
For now, though, it streams to Twitch at a rock-solid 1080p, meaning mission accomplished. Now to add the final bling… the AMD sticker. (And maybe even more obnoxious RGB lighting. We’ll see.)